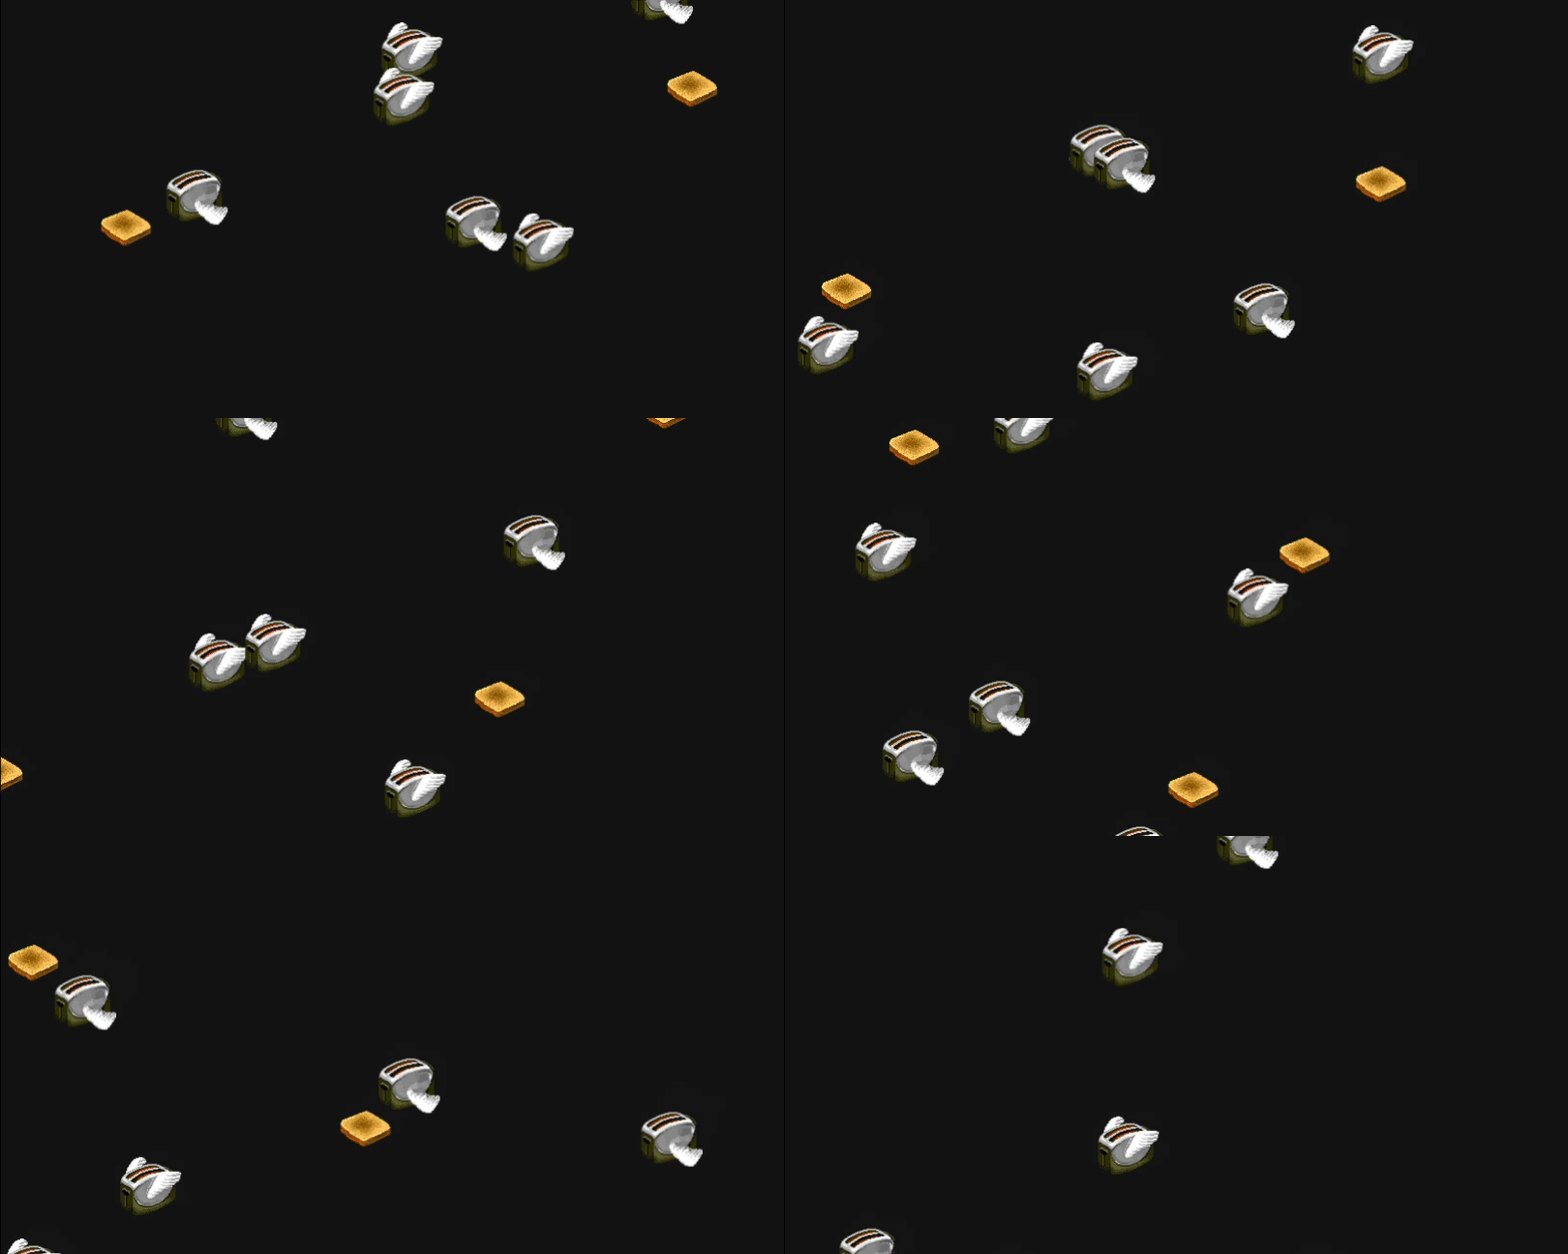
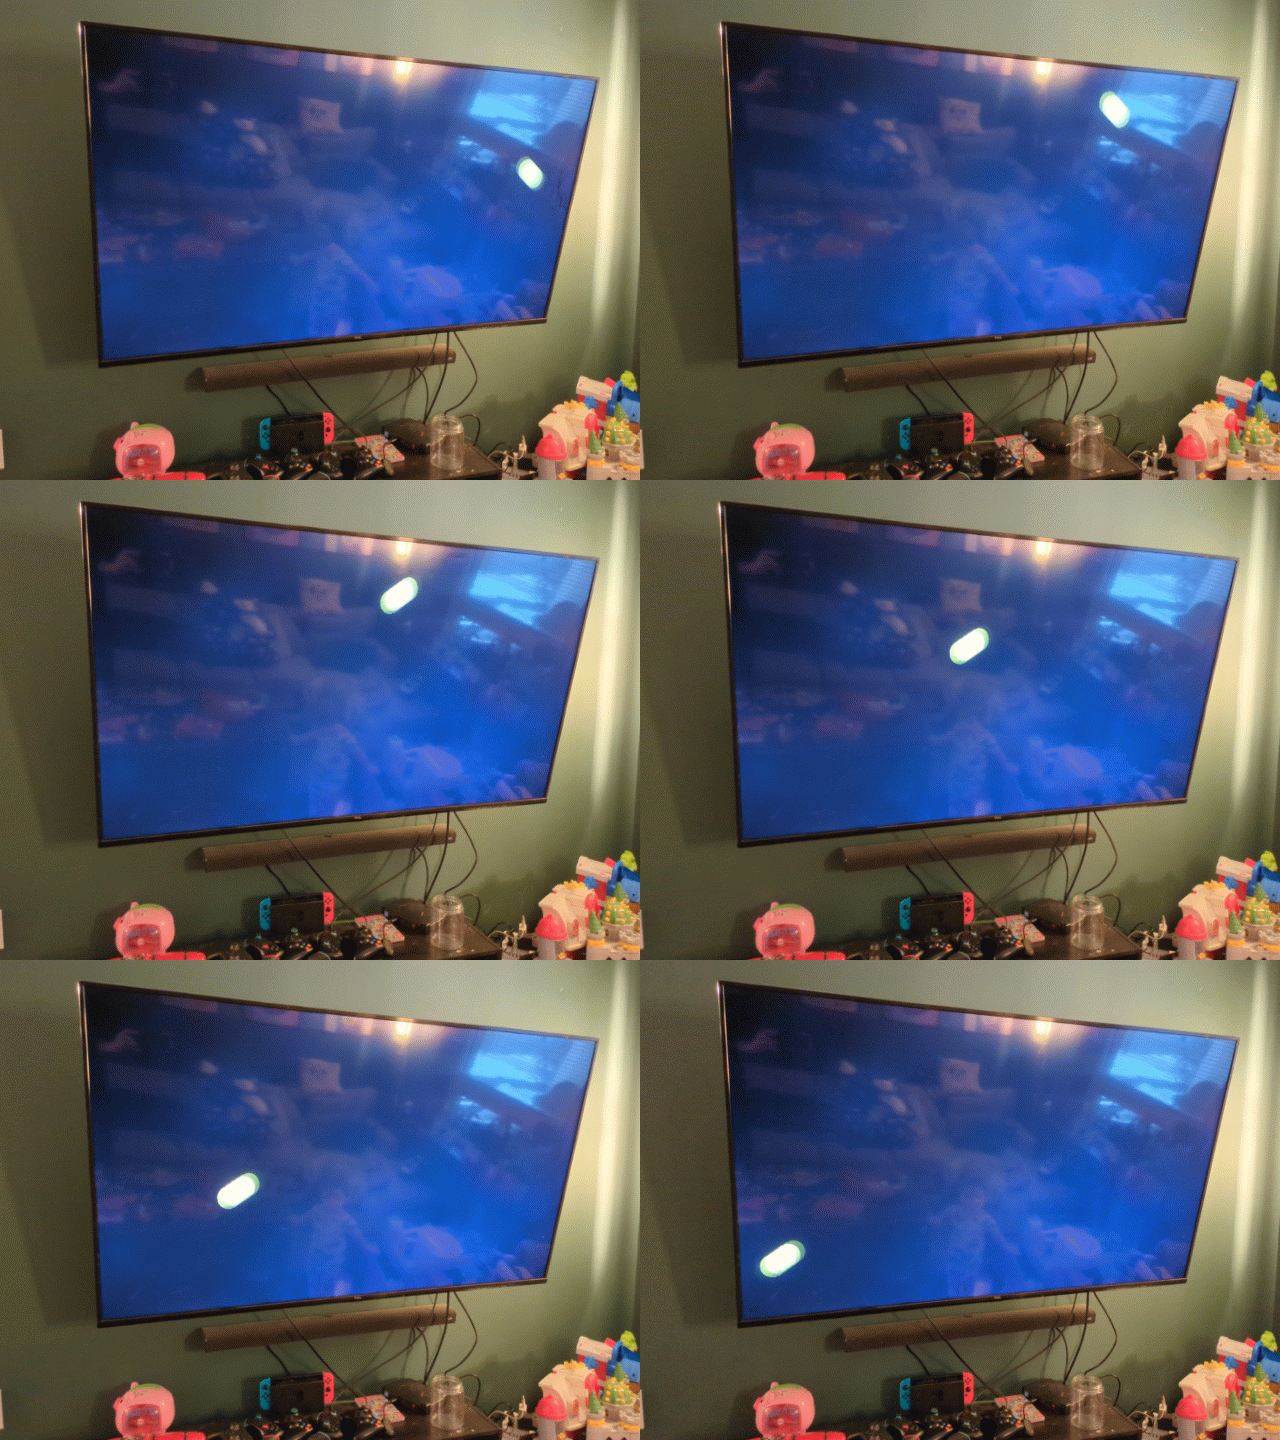
Years ago, I created a few very basic screensavers or daydreams for Android. One of them featured tacos flying in the sky. Another showed a red dot moving randomly around the screen. Both were pretty simple and a bit silly, in the spirit of 90s desktop screensavers. Recently, I decided to revisit the concept, combining a classic bouncing ball animation with code generated by ChatGPT, and install the screensaver on my TV.
Burning In

Screensavers were an iconic part of computer culture in the 1990s, but their origin was entirely practical. Early computer monitors, particularly those using cathode-ray tube (CRT) technology, faced a problem known as burn-in. CRTs worked by firing electrons at a phosphor-coated screen to create images. If the same image was displayed for hours on end—like a desktop or a static program interface—the phosphor would degrade unevenly, leaving a ghostly imprint of that image even after the display changed.
Older monitors lacked energy-saving features. EnergyStar, a standard for power efficiency in electronics, didn’t emerge until the mid-90s. Before then, monitors didn’t have a way to reduce power consumption or turn off automatically when idle. If a monitor was on, it was fully on, consuming power and at risk of burn-in. To solve this, screensavers were developed. These programs detected when a computer was idle for a set period and replaced the static image with dynamic, moving graphics. Early screensavers were simple: bouncing text or blanking the screen. Their purpose was to preserving the life of the monitor.
By the late 80s and early 90s, screensavers began to evolve from simple tools into a form of visual entertainment. They became a playground for designers and programmers, showcasing everything from intricate patterns to whimsical animations. Screensavers were soon everywhere—home offices, schools, and large computer labs. They were not just practical but also fun, a way to add personality to an otherwise utilitarian machine.
Eventually, technology caught up with the problem screensavers were designed to solve. Energy-efficient LCD monitors replaced CRTs, and sleep modes became standard. While this was undeniably a better solution, it marked the end of an era. Screensavers, no longer essential, became a nostalgic relic of early computing.
Before Daydreams: AfterDark

Simple screensavers were common enough but one dominated the screensavers-as-entertainment market: AfterDark by Berkeley Systems. They were best known for their iconic flying toasters screensaver, but they had a diverse catalogue of licensed screensavers including The Simpsons, Toy Story, Marvel and X-Men. I owned several AfterDark screensavers, including Totally Twisted and Star Trek, along with a handful of public domain screensavers.
MacOS X and Screensavers
Screensavers worked very differently on MacOS 7 through 9 compared to the revamped approach introduced in MacOS X. With the transition to a Unix-like operating system, screensavers became an integral part of the OS and were built using Objective C, Swift, or sometimes OpenGL. This shift allowed for simple yet beautiful screensavers like Flurry but made it challenging to recreate the cartoonish animations of AfterDark.
While some AfterDark screensavers, like flying toasters, were eventually rebuilt for MacOS X, Berkeley Systems had already shuttered by that time. Without their influence, the era of entertaining and whimsical screensavers faded. The charm and creativity of AfterDark were never quite matched, leaving it as a nostalgic relic of the 90s.
The Code
Android Daydreams are relatively simple as far as apps go, and the ones I built years ago didn’t involve much complexity. The code generated by ChatGPT for this project was similarly straightforward. While ChatGPT typically suggests Kotlin for modern Android projects, I decided to stick with Java, mainly out of personal preference and familiarity.
The bouncing ball animation was basic enough to generate with minimal input. I used a PNG for the ball instead of a JPG but otherwise kept the structure and logic unchanged. As always, I began by asking ChatGPT to outline the file structure.
app/
├── src/
│   ├── main/
│   │   ├── AndroidManifest.xml
│   │   ├── java/com/yourpackage/
│   │   │   ├── BouncingImageDreamService.java
│   │   │   ├── BouncingImageView.java
│   │   ├── res/
│   │   │   ├── drawable/
│   │   │   │   ├── bouncing_image.jpg
│   │   │   ├── layout/
│   │   │   │   ├── activity_main.xml (optional)
│   │   │   ├── values/
│   │   │   │   ├── strings.xml
│   │   │   │   ├── themes.xml
AndroidManifest.xml
<service
    android:name=".BouncingImageDreamService"
    android:exported="true"
    android:label="Bouncing Image Screensaver"
    android:permission="android.permission.BIND_DREAM_SERVICE">
    <intent-filter>
        <action android:name="android.service.dreams.DreamService" />
        <category android:name="android.intent.category.DEFAULT" />
    </intent-filter>
</service>
BouncingImageDreamService.java
package com.yourpackage;

import android.service.dreams.DreamService;

public class BouncingImageDreamService extends DreamService {

    @Override
    public void onAttachedToWindow() {
        super.onAttachedToWindow();
        setInteractive(false); // Disable user interaction
        setFullscreen(true);   // Enable fullscreen mode

        // Set the custom bouncing image view as the content view
        BouncingImageView bouncingImageView = new BouncingImageView(this);
        setContentView(bouncingImageView);
    }

    @Override
    public void onDreamingStopped() {
        super.onDreamingStopped();
        // Stop any animations or resource-intensive tasks
    }
}
BouncingImageView.java
package com.yourpackage;

import android.content.Context;
import android.graphics.Bitmap;
import android.graphics.BitmapFactory;
import android.graphics.Canvas;
import android.graphics.Paint;
import android.graphics.RectF;
import android.view.View;

public class BouncingImageView extends View {

    private float ballX = 100f;
    private float ballY = 100f;
    private float ballSpeedX = 8f;
    private float ballSpeedY = 6f;
    private final float ballRadius = 50f;

    private Bitmap ballBitmap;
    private Paint paint;

    public BouncingImageView(Context context) {
        super(context);

        // Load the image resource
        ballBitmap = BitmapFactory.decodeResource(context.getResources(), R.drawable.bouncing_image);

        // Initialize the paint object
        paint = new Paint();
    }

    @Override
    protected void onDraw(Canvas canvas) {
        super.onDraw(canvas);

        // Draw the image as a ball
        float left = ballX - ballRadius;
        float top = ballY - ballRadius;
        float right = ballX + ballRadius;
        float bottom = ballY + ballRadius;

        canvas.drawBitmap(
            ballBitmap,
            null,
            new RectF(left, top, right, bottom),
            paint
        );

        // Update the ball position
        ballX += ballSpeedX;
        ballY += ballSpeedY;

        // Reverse direction if the ball hits a wall
        if (ballX - ballRadius < 0 || ballX + ballRadius > getWidth()) {
            ballSpeedX = -ballSpeedX;
            ballX = Math.max(ballRadius, Math.min(ballX, getWidth() - ballRadius));
        }
        if (ballY - ballRadius < 0 || ballY + ballRadius > getHeight()) {
            ballSpeedY = -ballSpeedY;
            ballY = Math.max(ballRadius, Math.min(ballY, getHeight() - ballRadius));
        }

        // Redraw to create the animation loop
        invalidate();
    }
}
Installing on the TV

I initially planned to publish the app on the Google Play Store for easy installation, but getting my developer account up and running proved to be a longer process than expected. Thankfully, Android devices support installation of apps from Unknown Sources, allowing users to sideload apps built in Android Studio.
Here’s how I got my bouncing ball screensaver installed on my TCL Android TV:
- install file manager
- the TV didn’t have a file browser pre-installed
- I chose File Manager +
- update settings
- TV Settings -> More Settings -> Security & Restrictions -> Unknown Sources -> Install Unknown Apps
- enable permissions for the file manager
- copy a working build file to the USB thumbstick
- copy a working debug file or a signed build
- debug file is created from a working build
- you can sign and build with your keystone, but isn’t necessary for an unknown source
- if you copy your debug file instead of a signed build, it’s good idea to rename the file from app-debug.apk to your app name
- my file was in AndroidStudioProjects/BouncingBall/app/build/outputs/apk/debug/
- copy a working debug file or a signed build
- open the file manager and select the APK file
- you should see a confirmation to install the file
- activate the screensaver
- TV Settings -> More Settings -> Screensaver
- select the Bouncing Ball Screensaver.
The installation process was straightforward, and the screensaver worked perfectly. It was an immediate hit with my two-year-old son, who found the bouncing ball entertaining and requested it over Disney Cars, which is a huge endorsement.
Beyond Daydreaming
Creating custom screensavers for your home is a fun and creative project, but the potential applications extend far beyond personal use. Businesses can use custom screensavers to promote branding, share advertising, or enhance user experience. For example, a custom app could display the latest company blog posts or real-time social media updates. It could even connect to cloud or LAN data, turning idle screens into dynamic displays for key metrics or announcements. The possibilities are as expansive as your imagination and needs, making screensavers a surprisingly versatile tool for both personal and professional settings.